Gibson Melody Maker

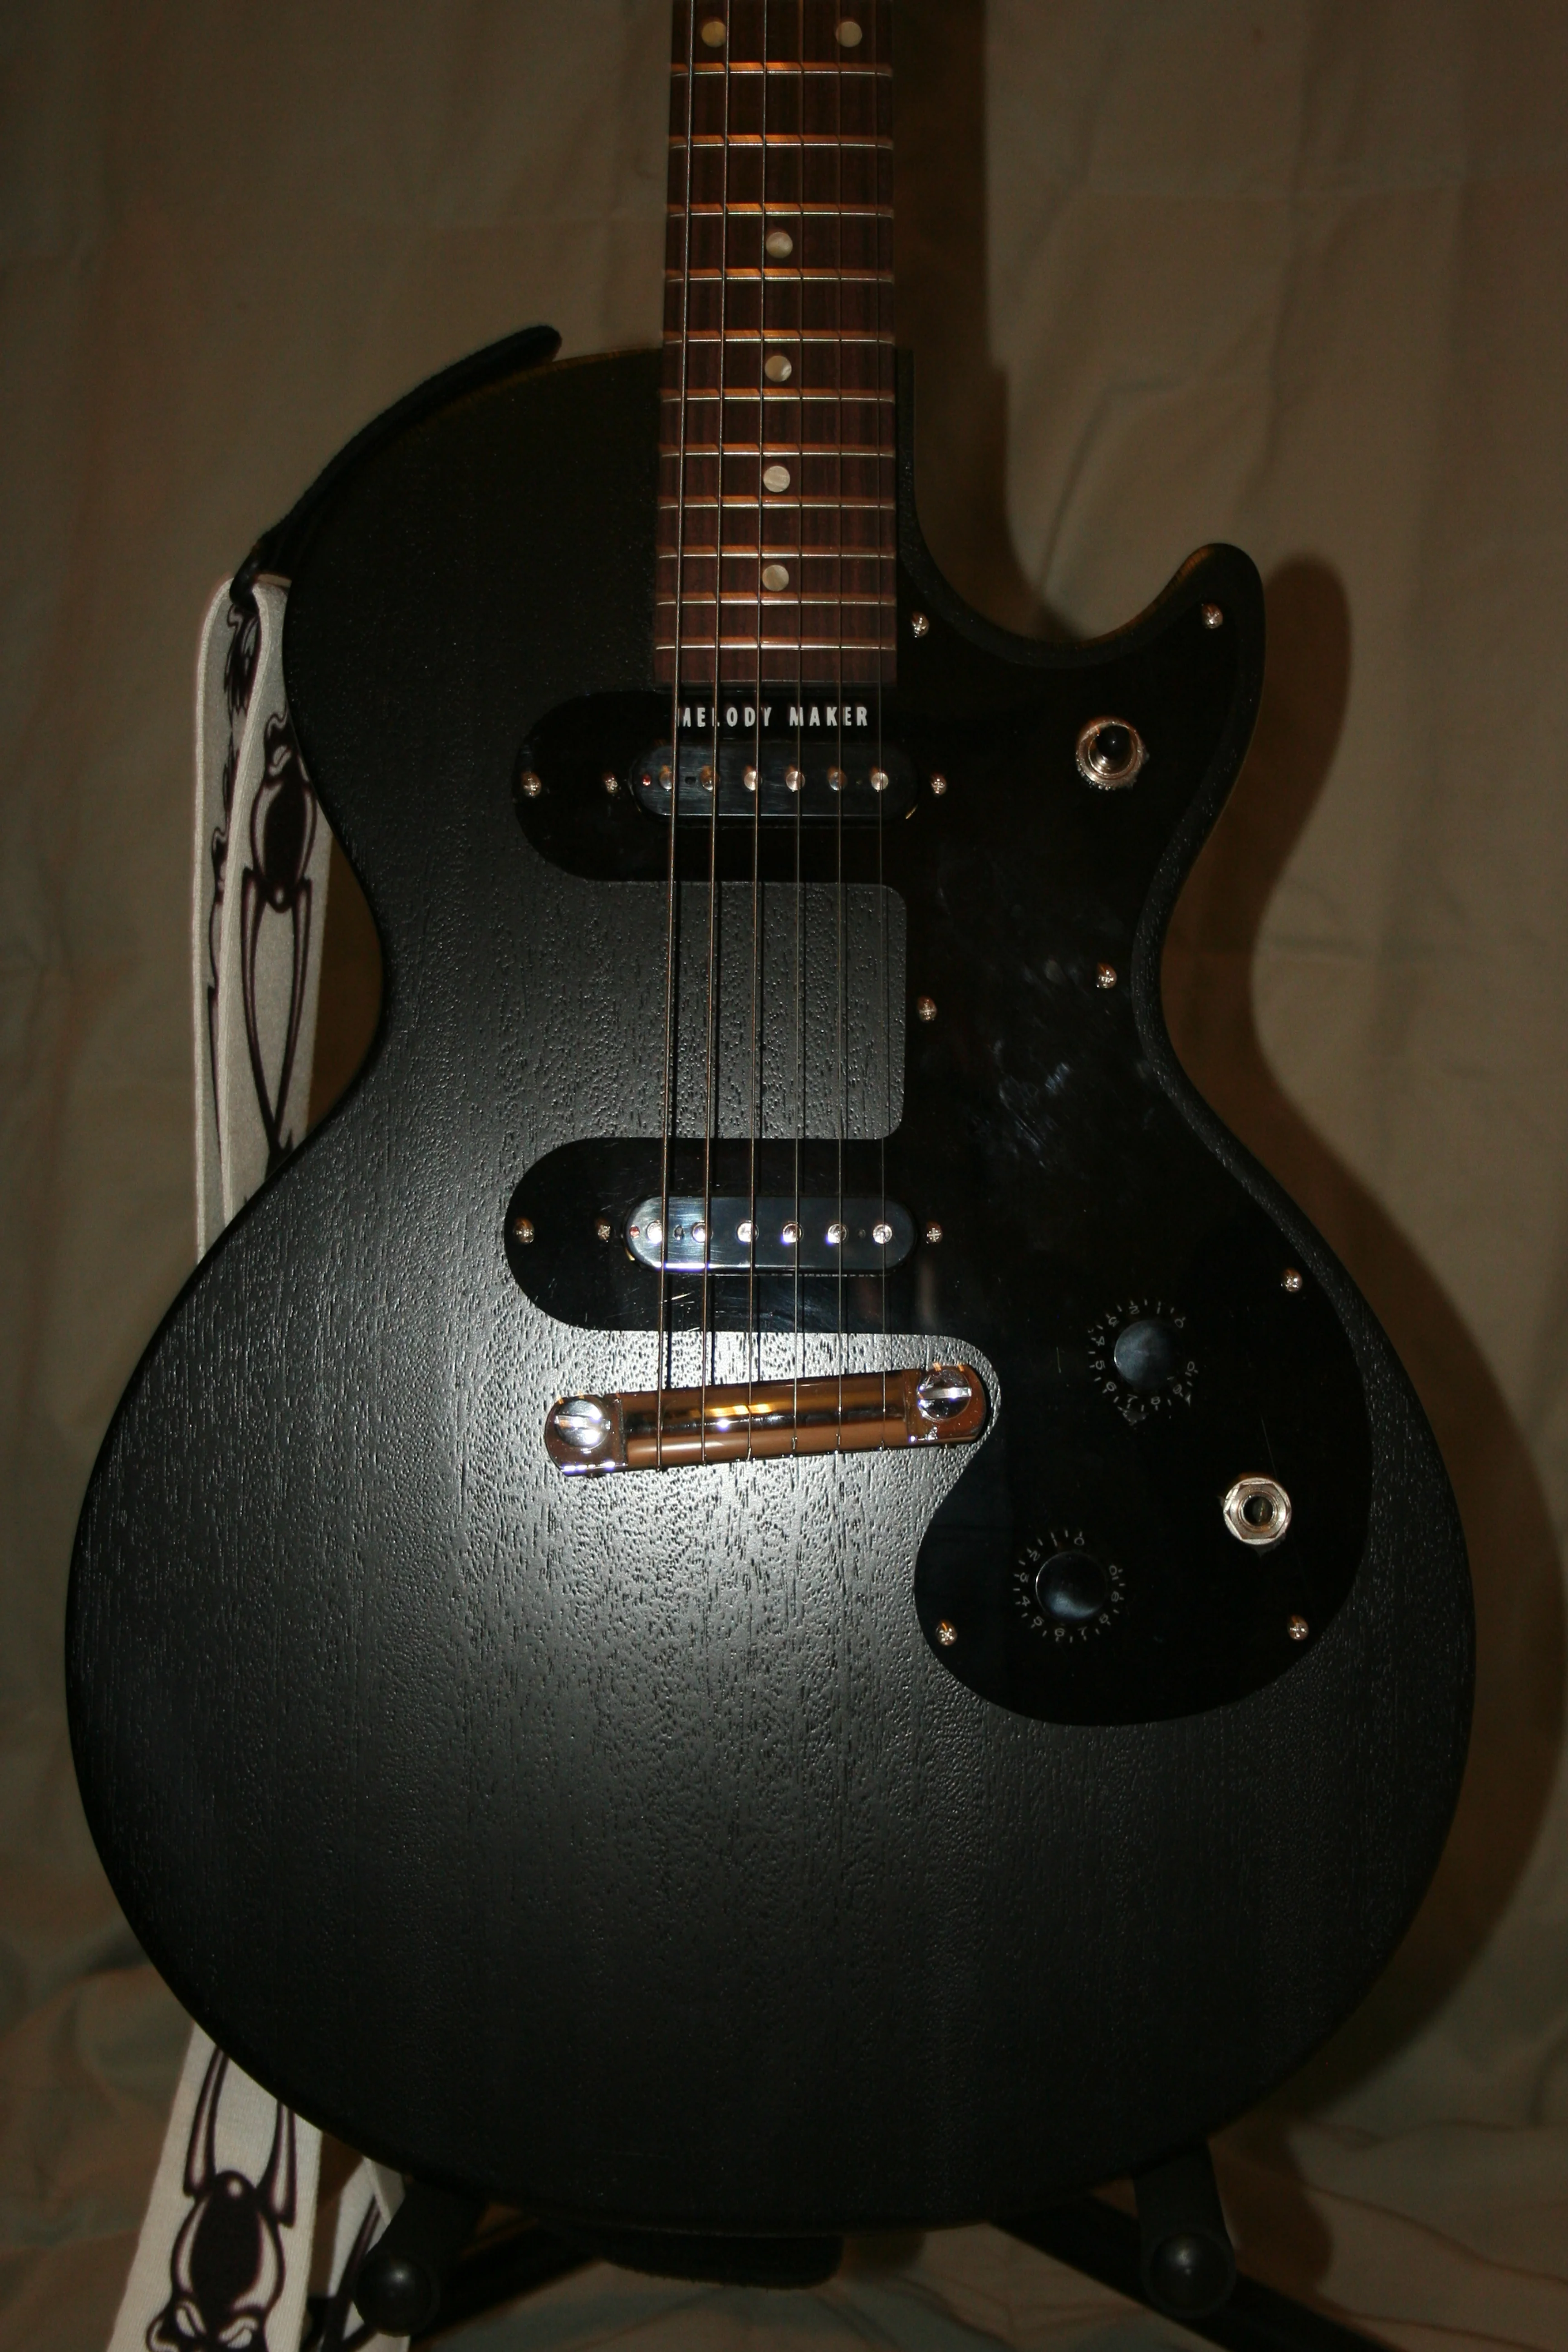
The Guitar Hero franchise finally peaked my interest in music. So, for Christmas last year, I asked my parents for a Gibson Melody Maker. Unfortunately, I sent my dad a link to Guitar Center and a simple online purchase became a two-month in-store ordeal in which their order (for a Sunburst colored, Gibson Melody Maker) was delayed, deleted, re-entered with errors, corrected, and finally delivered (in Black). But, I now have my guitar and Guitar Center offered up a free Peavey amp, a guitar strap, a stand, and a box of Ernie Ball strings, so all is forgiven. :-)

My original plan was to teach myself guitar from books and miscellaneous sources online. After going solo for about a month now, I realize that when I get home from work, I'm not always that motivated to try and learn on my own. When spring finally gets here, I think I'm going to start looking for guitar lessons to help kick me into gear.

Until then, I'm going to keep at it on my own, slowly progressing through the books I have:

  • The "First Stage" Guitar Book - Learn How To Play Guitar Easily & Quickly!
  • Hal Leonard Guitar Method: Rock Guitar
  • Learn to Play Guitar with Metallica

I'm also looking forward to the release of Guitar Rising sometime this year...

\m/

Recipe: Spicy Baked Fish

Serves: 4 - Serving Size: 3 oz

This spicy seafood dish will delight everyone.

Ingredients

  • 1 lb Cod (or other fish) Fillet
  • 1 Tbsp Olive Oil
  • 1 tsp Hot and Spicy Seasoning Mix

Directions

  1. Preheat oven to 350 degrees F. Spray casserole dish with nonstick cooking oil spray.
  2. Wash and dry fish. Place in dish. Drizzle with oil and seasoning mixture.
  3. Bake uncovered for 15 minutes or until fish flakes with fork. Cut into 4 pieces. Serve with rice.

Hot and Spicy Seasoning

Makes: 1/3 cup - Serving Size: 1/2 tsp

Spices can make the ordinary extraordinary. Here's a great all purpose spice mix.

Ingredients

  • 1 1/2 tsp White Pepper
  • 1/2 tsp Cayenne Pepper
  • 1/2 tsp Black Pepper
  • 1 tsp Onion Powder
  • 1 1/4 tsp Garlic Powder
  • 1 Tbsp Basil
  • 1 1/2 tsp Thyme

Directions

  1. Mix all ingredients together. Store in an airtight container.

Recipe from the National Heart, Lung, and Blood Institute's Keep the Beat - Heart Healthy Recipes.

Recipe: Poblano Cream Soup

Serves: 32 - Cook Time: 1 Hour

Ingredients

  • 1 1/2 pounds (about 8 large) Fresh Poblano Chiles
  • 1/2 teaspoon Coriander Seeds
  • 1 whole (1/8 teaspoon ground) Cloves
  • 4 whole (1/8 teaspoon ground) Allspice
  • 1/4 cup Olive Oil
  • 1 medium White Onion, chopped
  • 4 large Garlic Cloves, chopped
  • 1/2 cup Cilantro, coarsely chopped
  • 3-4 cups Chicken Broth
  • 1 cup Heavy Cream

Directions

  1. Roast chiles on medium-high until blackened all over (4-8 minutes)
  2. Transfer chiles to a large bowl and let sit for 20 minutes
  3. Peel, stem, seed, and chop chiles
  4. Heat spices in oil in a large saucepan over medium-low heat, stirring until fragrant and oil begins to simmer (1-2 minutes)
  5. Add onion and garlic, cook until softened (5-7 minutes)
  6. Add roasted chiles and cook, stirring for 1 minute
  7. Blend chile mixture with cilantro and 3 cups (total) chicken broth in 2 to 3 batches until smooth
  8. Add cream to chile mixture and simmer in cleaned saucepan
  9. Serve in heat-proof shot glasses or espresso cups

Recipe provided by Scott Sipiora.

Recipe: Cayenne Toasts with Sun-Dried Tomato Spread

I got this recipe from a co-worker after a holiday party. Thanks Scott!

Cayenne Toasts

Serves: 12-18 - Cook Time: 1 Hour

Ingredients

  • 3 French Bread Loaves
  • 1 cup Olive Oil
  • 2 teaspoons Cayenne Pepper
  • 1 1/2 teaspoons Salt
  • 1 1/2 teaspoons Sugar
  • 1/2 teaspoon Finely Ground Black Pepper
  • 1 teaspoon Paprika
  • 1 1/2 teaspoons Garlic Powder
  • 1 1/2 teaspoons Onion Powder

Directions

  1. Preheat oven to 200 degrees F
  2. Mix ingredients (minus bread) and set aside
  3. Cut French bread into 1/4 inch slices
  4. Place slices on un-greased baking sheets
  5. Lightly coat one side of each bread slice with a pastry brush, being sure to whisk the topping mixture regularly to prevent seasonings for settling
  6. Dry in preheated oven until crisp, about 1 hour
  7. Remove and cool

Store in airtight containers until served or up to 2 days. Cooled toasts can be packed in freezer containers and frozen up to 2 months. Re-crisp frozen toasts in a preheated oven at 350 degrees F for 5 to 7 minutes.

Recipe provided by Scott Sipiora.

Sun-Dried Tomato Spread

Serves: 8-10 - Cook Time: 45 Minutes, Prepare 2 Days in Advance

Ingredients

  • 1 1/2 ounce Dried Tomatoes
  • 1 cup Olive Oil
  • 2 large Garlic Cloves
  • 2 Parsley Sprigs
  • 5 Basil Leaves or 1 teaspoon Dried Leaf Basil
  • 1/4 teaspoon Cayenne Pepper
  • 1/2 teaspoon Salt
  • Pinch of Sugar
  • 1 Green Onion, coarsely chopped
  • 2 (4 ounce) Goat Cheese Rounds
  • Cayenne Toasts or Crackers

Directions

  1. Re-hydrate dried tomatoes by placing them on a steamer rack over simmering water until tomatoes are completely soft (about 45 minutes)
  2. Place steamed tomatoes in a 2-cup air-tight container
  3. Add all remaining ingredients except goat cheese and toast or crackers
  4. Cover container and shake to blend ingredients
  5. Refrigerate 2 days to blend flavors

To serve, blend mixture until almost smooth, leaving a little texture. Place goat cheese on serving dish and pour tomato spread over cheese.

Recipe provided by Scott Sipiora.

How a Software Engineer Puts Together a Wedding Album

With our wedding three months behind us, the time has arrived to place our wedding album order. I’m not sure how a normal person would go about figuring out which layouts work with which photos, but I can tell the story of how a Software Engineer, myself, went about the process.

Prep Work

When we had met with Timothy Whaley & Associates back in September, we were given:

  • Our proof book (a 12 × 11 inch book with 12 wallet sized photographs on a page)
  • A mat guide (a 8 × 11 inch sheet of paper with 35 little images of what each album page would look like)
  • And, a link to an online site to view and order individual prints.

Stephanie and I sat down together one night and flipped through the proof book, writing down the number of each photograph that we would like to have in our album. The easy part was done. Next we would have to figure out the layout of each photo on a page and each page in the album.

Since the proof book is property of Timothy Whaley & Associates (until we place our order at which point it becomes ours to keep for hitting a certain dollar amount in photo sales), it’s not as simple as cutting out each photo and arranging them on a black sheet of colored paper to mimic the mat layouts, we would end up owing Timothy Whaley & Associates the cost of the album, so the software engineer part of my brain kicks in… okay, so that part is always on, but I digress…

Images I can play with

I wanted images I could manipulate. Something I could throw around, re-arrange, and swap out as I please. I spend most of my day in front of a computer, so I am just as comfortable throwing around digital images as I am with hard copies. This is where the link they gave us come into play.

I logged into our online photo collection (Wedding Photo Proofs), clicked on the first thumbnail to see the bigger version and found the URL for that image:blah/blah/blah/getImage.aspx?fileName=blahblahblah%2f0001.jpg&useProof=True

That URL taught me a few things. First, the images are stored sequentially (note the 0001.jpg). Secondly, the images are stored clean and the getImage.aspx page overlays the word ‘proof’ when displaying the image to a user (note the useProof=true).

Having been using the WWW::Mechanize class in Ruby a lot recently (for HackThisSite which I will talk about on a later day), I wrote a quick little program to download all of my proof from the web site:

require 'rubygems'
require 'mechanize'

agent = WWW::Mechanize.new
url = 'blah/blah/blah/getImage.aspx?filename=blahblahblah%2f'

for num in 1..500 do
  filename = "%04d.jpg" % num
  file = agent.get( url + filename )
  file.save_as( filename )
end

That small block of Ruby code was all I needed to download all 500 of my wedding photo proofs free of the ‘proof’ overlay.

Okay, now I have all of my wedding proofs in a digital format. What next?

Building the Album Pages

So, now I could print out all the images or load them into a photo editor to re-arrange as needed, but that doesn’t satisfy the geek in me.

I installed RMagick on my MacBook and got to work writing another Ruby application to take in a mat type and list of photographs and produce an image of what the finished product would look like. The bulk of the time I spent on the program was getting the top left coordinates of each photo for the page layout. The RMagick code that actually creates the image pretty much boils down to this:

...

dst = Magick::Image.new( 960, 1440 ) { self.background_color = 'black' }

@photos.each do |photo|
  src = Magick::Image.read( photo[:name] ).first
  src.background_color = 'transparent'
  src.crop_resized!( photo[:size].width, photo[:size].height )
  src.rotate!( photo[:rotate] ) unless photo[:rotate] == 0
  dst.composite!( src, photo[:offset].left, photo[:offset].top, Magick::OverCompositeOp )
end

...

You can download the Artist Album Page Builder (album_page.rb) Ruby program. It allows you to build 32 of the 35 mat templates (doesn’t include Half Panoramic, Panoramic, or Cover Cameo). You can build a sample of all the pages by running: ruby album_page.rb --samples

Building samples checks for two files, one called _sample_portrait.jpg and the other called _sample_landscape.jpg, if it doesn’t find those, the program creates it’s own sample images to use in generating the sample mat files.

Putting it all together

With the album_page.rb program I wrote, I was able to create as many combinations of layouts and photos as I liked.

And that is how a Software Engineer puts together a wedding album.

Example (with photos from our Honeymoon in Kauai, Hawaii):